How to Set Up a VPN on Any Device in Under Five Minutes
VPN setup is easier than you think. Learn how to set up a VPN on every major platform with clear steps, verification tips and provider recommendations.
Easiest VPNs to Set Up
Bottom Line: Setting up a VPN on any device takes under five minutes using the app method. Download your provider’s app, enable the kill switch, connect to a server, and verify your protection at ipleak.net before doing anything sensitive.
The installation of a VPN does not require a degree in technology. Whether you want to guard your privacy or access content worldwide, we have broken the whole process into clear steps. Each device section takes about one minute to read. Select your platform and get started.
What a VPN Does and Why It Matters
A VPN (Virtual Private Network) encrypts your internet traffic and routes it through a secure server. This hides your IP address and keeps your browsing activity private. It protects you from hackers on public Wi-Fi.
A VPN stops your ISP from tracking the websites you visit and selling that data to advertisers. It lets you bypass geo-restrictions on streaming platforms. It also shields you from surveillance alliances like Five Eyes and Fourteen Eyes. In short, if you use the internet, you need a VPN.
Now let us walk through how to set one up on every major device.
| Platform | Setup Method | Time Required | Difficulty | Kill Switch Available |
|---|---|---|---|---|
| iPhone / iPad | App Store download | Under 3 min | Easy | Yes (in-app) |
| Android | Google Play download | Under 3 min | Easy | Yes (in-app + system-level) |
| Windows | Installer download or Microsoft Store | Under 2 min | Easy | Yes (in-app) |
| macOS | App download or System Settings | Under 2 min | Easy | Yes (in-app only) |
| Linux | CLI install or .deb/.rpm package | 5–15 min | Moderate | Yes (in-app) |
| Router | Admin panel configuration | 15–30 min | Hard | Network-level only |
| Smart TV (Android/Fire TV) | App store download | Under 5 min | Easy | Yes (in-app) |
| Smart TV (Samsung/LG) | Router or hotspot method | 15–30 min | Hard | Network-level only |
Setting Up a VPN on iPhone and iPad
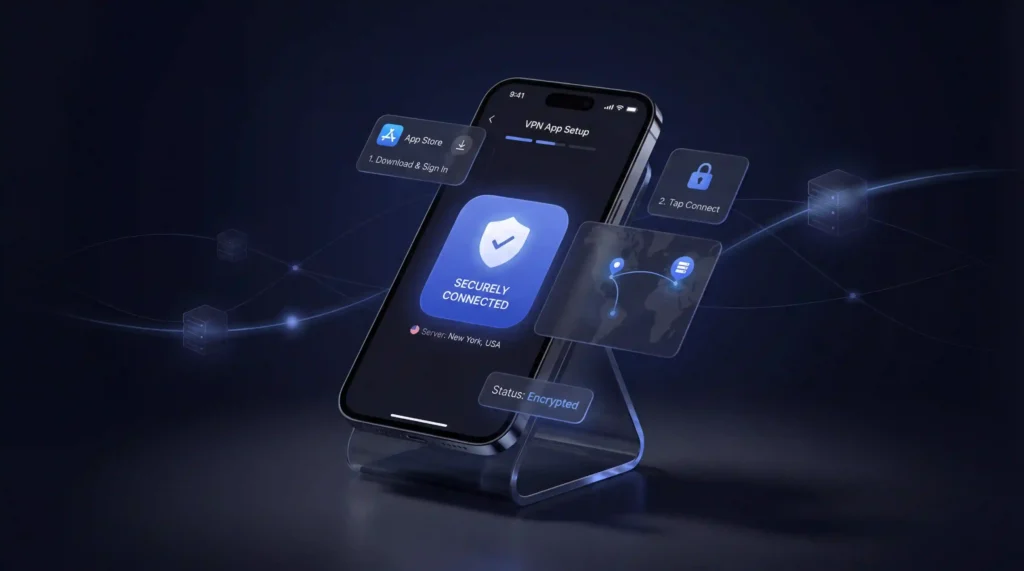
Apple makes VPN setup simple. Here is how to do it using the app method, which we recommend for most users:
- Open the App Store on your iPhone or iPad
- Search for your VPN provider (such as NordVPN or Surfshark)
- Tap Get to download and install the app
- Open the app and sign in with your account
- Select a server location and tap Connect
That is all it takes. Your connection is now encrypted.
Manual Setup on iOS
If you prefer manual configuration:
- Open Settings and go to General
- Tap VPN & Device Management then select VPN
- Tap Add VPN Configuration
- Choose your connection type (IKEv2 or IPSec)
- Enter the server address and your login credentials (provided by your VPN service)
- Tap Done and toggle the VPN on
We recommend the app method for everyday use. Manual setup is best when connecting to a corporate or school network.
Setting Up a VPN on Android
Android devices support both app-based and manual VPN connections. The app method is faster and easier.
App Setup (Recommended)
- Open the Google Play Store
- Search for your VPN provider
- Tap Install and wait for the download to finish
- Launch the app and log in
- Pick a server and hit Connect
You are now protected. Most VPN apps include a built-in speed test so you can check performance right away.
Manual Setup on Android
- Go to Settings then tap Network & Internet
- Tap VPN and then the + icon in the top right
- Choose the connection type (IKEv2 or IPSec)
- Enter the server name and credentials from your VPN provider
- Tap Save and then select your new VPN to connect
Android’s manual setup works well with enterprise VPN configurations. For personal use, the app method is the way to go.
Setting Up a VPN on Windows
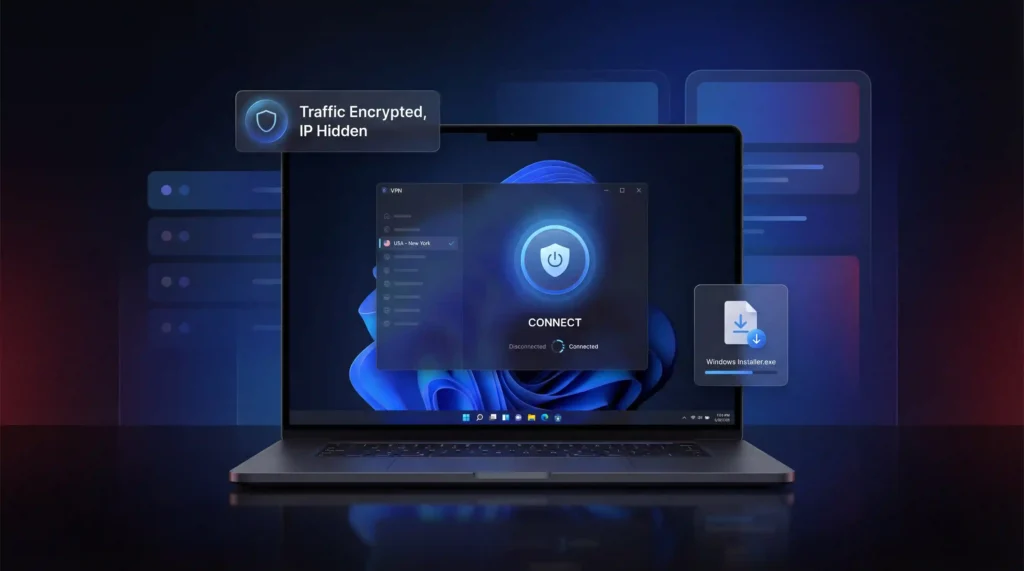
Windows 11 is the current standard (Microsoft ended Windows 10 support in October 2025). Both versions follow a similar setup process.
App Setup (Recommended)
- Visit your VPN provider’s website and download the Windows installer (.exe file)
- Double-click the file and follow the installation prompts
- Open the VPN app and sign in
- Select a server and click Connect
Done. Your traffic is now encrypted and your IP address is hidden.
Manual Setup on Windows
- Open Settings and go to Network & Internet
- Click VPN then Add VPN
- Under VPN provider select Windows (built-in)
- Enter a connection name (anything you will recognize)
- Type in the server address from your VPN provider
- Choose the VPN type (IKEv2 or IPSec)
- Enter your username and password then click Save
- Go back to the VPN page and click Connect
A blue shield icon on your taskbar confirms the VPN is active. We suggest using the app method unless your workplace or school requires manual configuration.
Setting Up a VPN on macOS
macOS has built-in VPN support. Most major providers also offer dedicated Mac apps.
App Setup (Recommended)
- Download the VPN app from your provider’s website (a .pkg file) or search for it in the App Store
- Install the app by double-clicking the package file
- Open the app and log in
- Choose a server and click Connect
The entire process takes under two minutes.
Manual Setup on macOS
- Click the Apple menu and open System Settings
- Select VPN from the sidebar
- Click Add VPN Configuration and choose your protocol (IKEv2 or IPSec)
- Enter the VPN name and server address
- Click Authentication Settings and add your credentials
- Click Create then toggle the VPN on
Manual setup on macOS is straightforward but lacks extra features from dedicated apps. Split tunneling and kill switches are only available through VPN apps.
Setting Up a VPN on Linux
Linux setup requires more effort, but it is far from impossible. Some providers offer downloadable apps while others rely on command-line installation.
Using a Downloadable App
- Visit your VPN provider’s website and download the Linux installer (usually a .deb or .run file)
- Open a terminal window (Ctrl + Alt + T on most distributions)
- Navigate to your downloads folder using cd ~/Downloads
- Install the package:
- For .deb files: sudo apt install ./filename.deb
- For .run files: chmod +x filename.run then sudo ./filename.run
- Launch the VPN app and log in
- Select a server and connect
Using Command-Line Installation
- Open a terminal window
- Copy the installation command from your VPN provider’s website
- Paste it into the terminal using Ctrl + Shift + V and press Enter
- Follow the on-screen prompts to complete the setup
- Launch the app and connect to a server
Providers like NordVPN and Surfshark offer well-documented Linux setup guides. WireGuard is the recommended protocol on Linux because of its lightweight codebase and strong performance.
Setting Up a VPN on a Smart TV
Smart TVs differ because not all of them support VPN apps. Your setup method depends on the TV platform.
Android TV and Fire TV (Direct App Install)
- Open the Google Play Store (Android TV) or App Store (Fire TV)
- Search for your VPN provider
- Tap Install
- Open the app and sign in
- Connect to a server and start streaming
This is the fastest method. It also works on devices like Nvidia Shield and Chromecast with Google TV.
Apple TV (tvOS 17 and Later)
- Open the App Store on your Apple TV
- Search for your VPN provider
- Tap Get to download the app
- Sign in and pick a server
Samsung TV and LG TV (No Native VPN Support)
Samsung runs Tizen OS and LG runs webOS. Neither supports VPN apps directly. Here are your options:
- Router method: Install the VPN on your router (see below) so every connected device is protected automatically
- Hotspot method: Run the VPN on your laptop and create a Wi-Fi hotspot, then connect your TV to it
- Ethernet method: Connect your VPN-enabled computer to the TV using an Ethernet cable
We recommend the router method for a permanent setup. Not every VPN handles smart TV streaming equally. Some offer Smart DNS while others require a full router configuration.
Setting Up a VPN on a Router
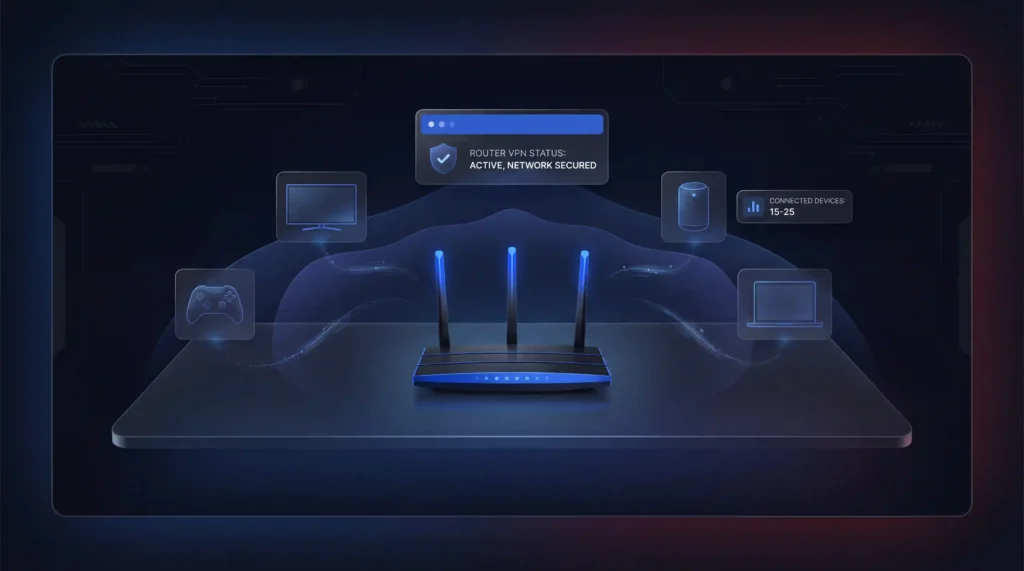
Setting up a VPN on your router protects every device on your network at once. This includes smart TVs, game consoles, smart speakers, and anything else that connects to Wi-Fi.
Step-by-Step Router Setup
- Check if your router supports VPN connections (consult your manual or search your router model online)
- Log in to your router’s admin panel by entering its IP address in a browser (usually 192.168.0.1 or 192.168.1.1)
- Find the VPN section in the settings menu
- Choose your VPN protocol (WireGuard or OpenVPN are the best options)
- Enter your VPN username and password
- Upload the VPN configuration file from your provider’s website
- Click Save or Apply then activate the connection
Pre-Configured VPN Routers
If manual router configuration feels too complex, you can purchase a router with a pre-installed VPN. ExpressVPN sells the Aircove router as an appreciated plug-and-play option. FlashRouters also offers pre-configured routers with providers like NordVPN and Surfshark.
Things to Keep in Mind
- Not all routers support VPN connections. ISP-provided routers often do not.
- Router-level VPNs protect every device, but switching servers requires logging into the admin panel.
- Asus routers offer policy-based routing, which lets you exclude specific devices from the VPN.
- Average households now have 15 to 25 connected devices, which makes router-level VPN protection a practical choice.
Always verify after setup: After connecting to any VPN for the first time, visit ipleak.net. It should show the VPN server’s location and IP address, not your real ones. If DNS still shows your ISP’s servers, your VPN has a DNS leak. Enable DNS leak protection in your VPN app settings and retest. This takes 30 seconds and confirms your protection is actually working before you do anything sensitive.
How to Verify Your VPN Is Working
Once you have everything configured, always confirm the VPN is doing its job. Two fast methods:
- ipleak.net: This free site shows your visible IP address and DNS servers. If it displays the VPN server’s location instead of your actual location, you are protected. If it shows your real IP or ISP data, you have a leak.
- Wireshark: This free tool scans your data packets in real time. When all data appears as random characters and numbers, encryption is functioning. If you can read plain text, your VPN is not encrypting correctly.
Which VPN Should You Use?
If you are unsure which provider to pick, here are a few that cover every device listed above:
- NordVPN has passed every DNS and IP leak test in our reviews. It includes a kill switch on all platforms and backs plans with a 30-day money-back guarantee. NordVPN delivers some of the fastest speeds in the industry, hitting 340+ Mbps on WireGuard in our tests.
- Surfshark offers unlimited simultaneous connections, making it ideal for households with many devices.
- ExpressVPN provides the Aircove router for users who want plug-and-play network-wide protection.
Quick Tips for Getting the Most Out of Your VPN
- Pick a nearby server for the fastest speeds
- Use WireGuard protocol for the best balance of speed and security
- Enable the kill switch so your data stays protected if the VPN connection drops
- Turn on split tunneling to choose which apps use the VPN and which do not
- Avoid free VPNs because they often come with data caps and questionable privacy practices
- Choose a provider with a verified no-logs policy so your data is never stored or shared
Frequently Asked Questions
How long does it take to set up a VPN on a phone or computer?
On iPhone or Android, setup takes under three minutes using the app from your provider’s app store. On Windows and macOS, it takes under two minutes. Linux requires five to fifteen minutes depending on your distribution and install method. Router setup is the most involved at fifteen to thirty minutes.
How do I verify my VPN connection is actually working?
Visit ipleak.net in your browser after connecting. It should show the VPN server’s IP address and location, not your real ones. If your real IP or your ISP’s DNS servers still appear, enable DNS leak protection in your VPN app settings and test again. This check takes thirty seconds.
Can I configure a VPN manually without downloading an app?
Yes. Every major platform supports manual VPN configuration through its network settings. On iPhone, go to Settings, General, VPN and Device Management. On Windows, go to Settings, Network and Internet, VPN. Manual setup works for IKEv2 and IPSec connections but lacks features like split tunneling and kill switches that only dedicated apps provide.
What is a VPN kill switch and why should I enable it?
A kill switch automatically cuts your internet connection if the VPN drops unexpectedly. Without it, your device falls back to your unprotected connection and your real IP address becomes visible. Enable it immediately after installing any VPN app. It is available on all major platforms through the provider’s app.
Does a router VPN protect devices that cannot run VPN apps?
Yes. Installing a VPN on your router protects every device connected to that network. This includes smart TVs, PlayStation, Xbox, and IoT devices like smart speakers. Average households have 15 to 25 connected devices, making router-level protection practical for full coverage.
Final Verdict
Setting up a VPN is one of the simplest steps you can take to protect your privacy online. It takes minutes on any device. Use VPN apps for the easiest experience. Save manual setup for cases where a workplace or school network requires it.
Choose a reputable provider. Download the app. Connect to a server. Verify your connection at ipleak.net. You are done.